


Steps to convert .NET Framework to .NET Core
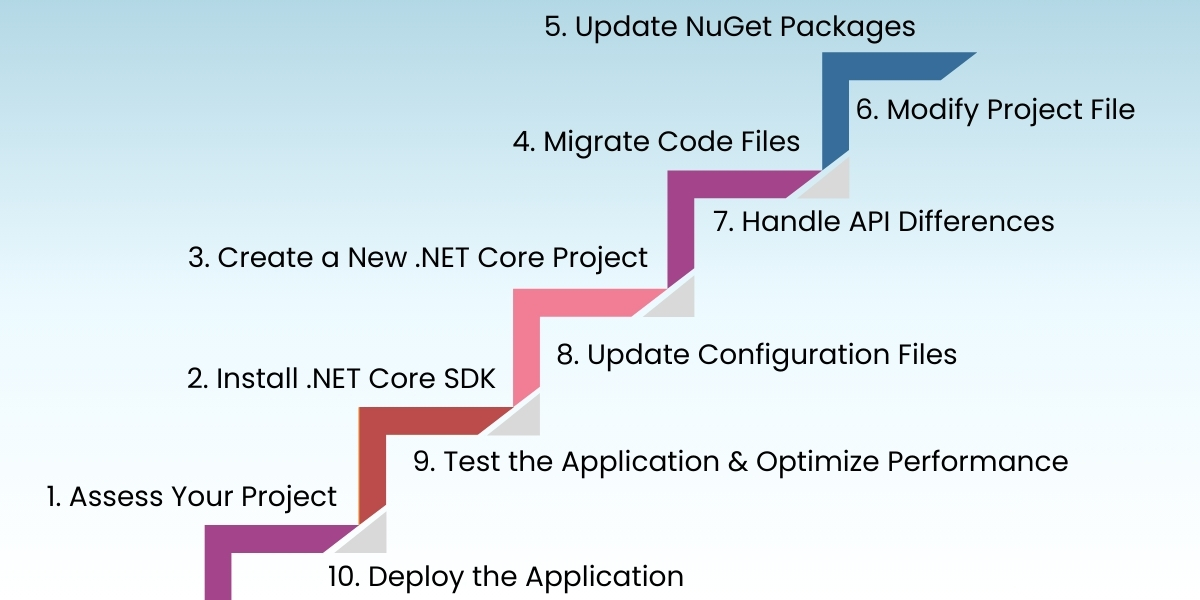
1. Assess Your Project
Before starting the conversion, assess your current .NET Framework project for compatibility with .NET Core. Check for dependencies and NuGet packages that may not be compatible with .NET Core.
2. Install .NET Core SDK
Ensure that you have the latest .NET Core SDK installed. You can download it from the official .NET website.
3. Create a New .NET Core Project
Create a new .NET Core project using the command line or Visual Studio.
Using CLI:
dotnet new console -n MyCoreApp

cd MyCoreApp
Using Visual Studio:
- Open Visual Studio
- Select “Create a new project”
- Choose “Console App (.NET Core)” or other project types as required
- Configure your new project and click “Create”
4. Migrate Code Files
Copy your existing code files from the .NET Framework project to the new .NET Core project. This includes .cs files, .config files, and any other resources.
5. Update NuGet Packages
Update the NuGet packages in your project to their .NET Core compatible versions. You can do this via the NuGet Package Manager in Visual Studio or by editing the .csproj file to include the latest package versions.
6. Modify Project File
Update the project file (.csproj) to target .NET Core. Your .NET Core project file will be simpler compared to the .NET Framework project file.
Example .NET Core .csproj file:
<Project Sdk="Microsoft.NET.Sdk">

<PropertyGroup>

<OutputType>Exe</OutputType>

<TargetFramework>netcoreapp3.1</TargetFramework>

</PropertyGroup>

<ItemGroup>

<PackageReference Include="Newtonsoft.Json" Version="12.0.3" />

<!-- Add other package references here -->

</ItemGroup>

</Project>
7. Handle API Differences
Address any differences between .NET Framework and .NET Core APIs. Some APIs available in .NET Framework may not be available or may have changed in .NET Core. Refer to the .NET API Portability Analyzer for help.
8. Update Configuration Files
Update configuration files such as app.config or web.config to the new .NET Core configuration system if needed. For ASP.NET Core projects, this typically involves creating a appsettings.json file.
Example appsettings.json:
{

"Logging": {

"LogLevel": {

"Default": "Information",

"Microsoft": "Warning",

"Microsoft.Hosting.Lifetime": "Information"

}

},

"AllowedHosts": "*"

}
9. Test the Application
Run and test your application thoroughly to ensure that it works correctly in .NET Core. Pay special attention to areas where APIs were changed or replaced.
Using CLI:
dotnet run
Using Visual Studio:
- Press F5 to build and run the project
10. Optimize Performance
Take advantage of .NET Core features such as improved performance and cross-platform capabilities. Optimize your code to leverage these features where applicable.
11. Deploy the Application
Deploy your .NET Core application. .NET Core supports various deployment models including self-contained and framework-dependent deployments. Choose the model that best fits your requirements.
Using CLI for publishing:
dotnet publish -c Release -r win-x64
Using Visual Studio:
- Right-click on the project
- Select “Publish”
- Follow the publishing wizard
By following these steps, you can successfully convert your .NET Framework project to .NET Core, taking advantage of the latest features and performance improvements offered by .NET Core.
Written by: Empirical Edge Team