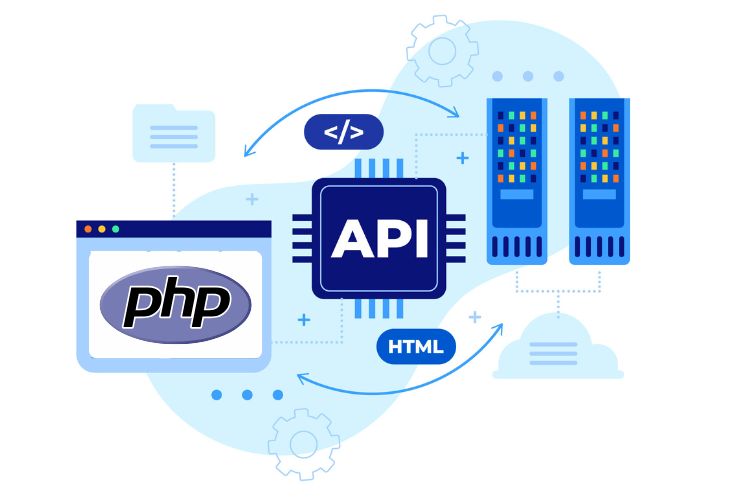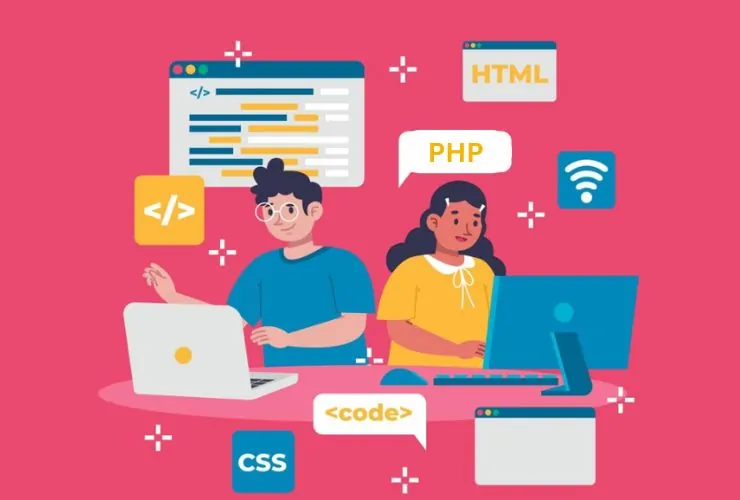


It’s very rewarding to develop a blogging platform from scratch using PHP, for you can then really understand the inside workings of a web application. With PHP, you could make a platform that enables users to write, publish, edit, and delete their posts; you can also include more features such as user registration and commenting. This tutorial will walk you through the main steps from setting up your development environment to building key features and deploying your platform.
Introduction to Building a Blogging Platform in PHP
The process of building your very own blogging platform can be one of the greatest learning experiences that a web developer will face if interested in pushing skills in PHP and backend development to the extreme. Below, we’re going to give you an easy, step-by-step guide that is going to help you with the core elements in creating a blog application from scratch, hence getting each of the stages clear.
Step 1: Set Up Your Development Environment
First, ensure you have a working PHP environment. You can install a local server like XAMPP or MAMP, which provides you with PHP, MySQL, and Apache. Once you’re set up, create a new project folder where you’ll store all your files for this blog platform.
Step 2: Create the Database
To store blog posts, users, comments, and other data, you’ll need to set up a MySQL database.
Create a new database called blog_platform.
Define tables:
- users: Stores information like user_id, username, email, and password.
- posts: Stores blog posts with columns like post_id, title, content, author_id, and created_at.
- comments: Stores comments on posts with comment_id, post_id, user_id, comment_text, and created_at.
This database structure allows you to link users to their posts and comments, enabling a functional and organized blog system.
Step 3: Set Up User Authentication
User authentication is essential for securing your platform and managing user permissions.
- User Registration: Create a registration form where users can sign up. When users submit the form, hash their passwords with PHP’s password_hash() function for security.
- Login System: Build a login form to authenticate users using PHP sessions. Store the session data upon successful login so users can remain logged in as they navigate the platform.
- Access Control: Limit post creation and editing permissions to logged-in users only.
Step 4: Develop the Blog Post Functionality
Once users are authenticated, you can move on to creating the main blogging features:
- Create a Post Form: Build a form where users can enter a title and content for their posts.
- Save Posts to the Database: When the form is submitted, validate and sanitize the inputs, then save the post in the posts table.
- Display Posts: Create a page to display a list of blog posts. Use PHP to fetch posts from the database and display each title, content snippet, and author name.
- Edit and Delete Posts: For logged-in users, add options to edit or delete their posts. Ensure they can only modify posts they created, using their author_id to confirm ownership.
Step 5: Add Commenting Features
Comments help make your blog more interactive and engaging.
- Comment Form: Add a comment form below each post. Only logged-in users should be able to submit comments.
- Display Comments: Fetch and display comments associated with each post from the comments table.
- Moderation: Optionally, add moderation capabilities so that admins can approve or delete comments if needed.
Step 6: Style the Platform
Use HTML and CSS to give your blog platform a clean and user-friendly interface. You can use a CSS framework like Bootstrap for quicker styling or create custom CSS for a more personalized look. Focus on making the navigation intuitive, ensuring users can easily find the registration, login, post creation, and comment sections.
Step 7: Deploy the Blog Platform
Once you’re satisfied with your blog’s functionality and styling, it’s time to deploy. You can host your PHP application on platforms like Heroku, DigitalOcean, or a traditional shared hosting provider that supports PHP and MySQL.
- Migrate Your Database: Export your local database and import it into your production server.
- Upload Your Files: Use FTP or a git repository to upload your files to the server.
- Configure Your Environment: Update your database connection settings and any environment-specific configurations.
Best Practices and Future Enhancements
With the core blog features set up, here are some ways to enhance your platform:
- SEO-Friendly URLs: Use URL rewriting to make your post URLs more descriptive and SEO-friendly.
- User Profiles: Add user profile pages where authors can share a bio and showcase their posts.
- Category and Tagging System: Organize posts by categories or tags to improve content discoverability.
- Enhanced Security: Implement CSRF protection, sanitize inputs, and ensure data validation throughout the platform.
Conclusion
With the PHP blogging platform, you can build one from scratch and get to know web development concepts right from database management to authentication and content management. Now, you can expand this platform further, creating a fully-featured blogging site tailored to your needs with PHP’s flexibility.
Build a Powerful Blogging Platform with Expert Support
Creating a blogging platform from scratch requires the right architecture, security practices, and scalable development approach. Empirical Edge helps businesses design and develop robust PHP applications with advanced features, seamless performance, and future-ready scalability. Partner with our experts to turn your blogging platform into a reliable digital asset that grows with your business.
Frequently Asked Questions
It involves creating a web application that lets users write, edit, publish, and delete posts while managing features like authentication, comments, and database storage.
Start by setting up a development environment with tools like a local server that includes PHP, MySQL, and Apache, then create a project folder for your files.
A database stores essential data such as users, posts, and comments, allowing you to link content with authors and maintain an organized system.
Comments make the blog interactive by allowing logged-in users to share feedback, while moderation tools help maintain content quality.
Deployment typically involves migrating the database, uploading files via FTP or a repository, and updating environment configurations on a hosting server.
Written by: Empirical Edge Team